Iron Orchid Designs - Velveteen Decor Stamp (6 x 6)
Iron Orchid Designs - Velveteen Decor Stamp (6 x 6)
Pickup available at 99 Geoff Philp Drive
Usually ready in 4 hours
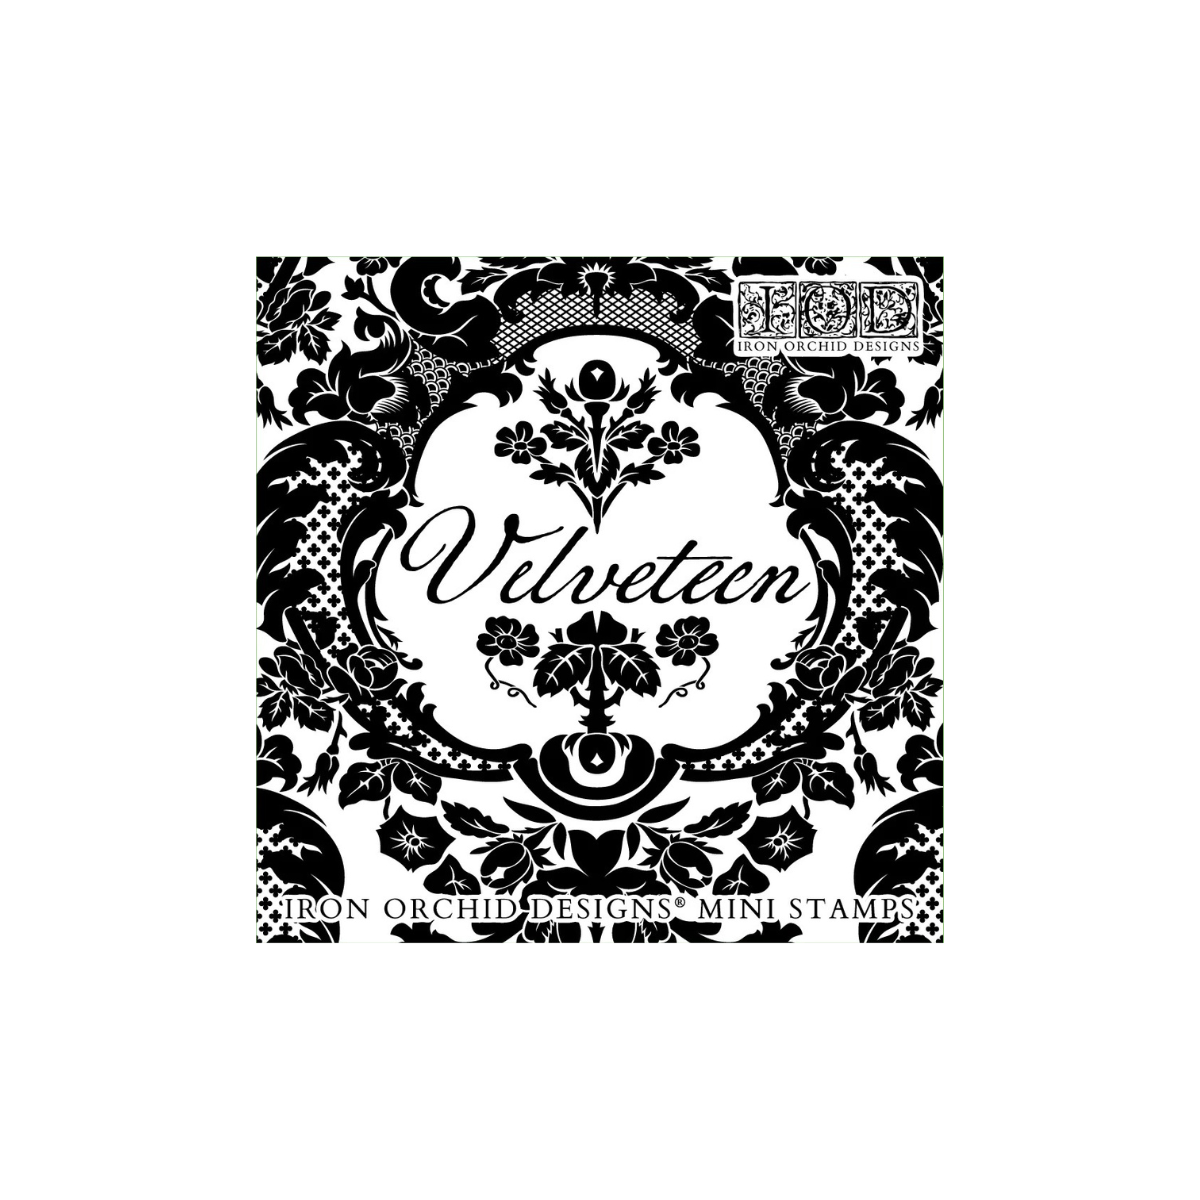
VELVETEEN
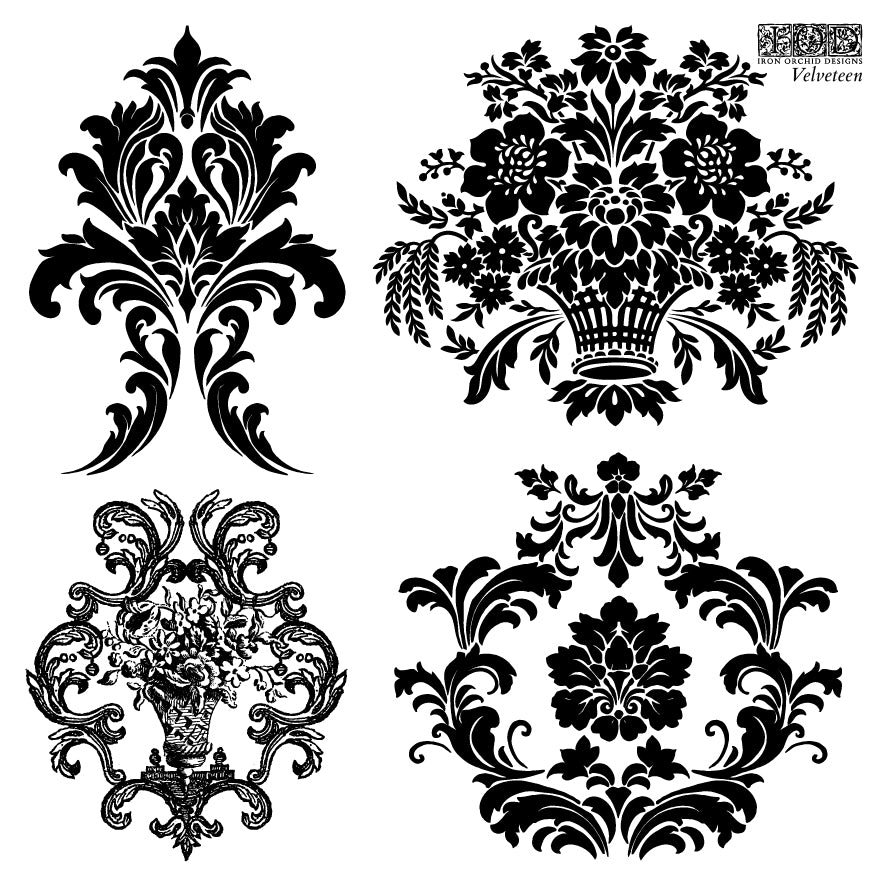
4 Sheets, 6”x6” w/ Envelopes and Case
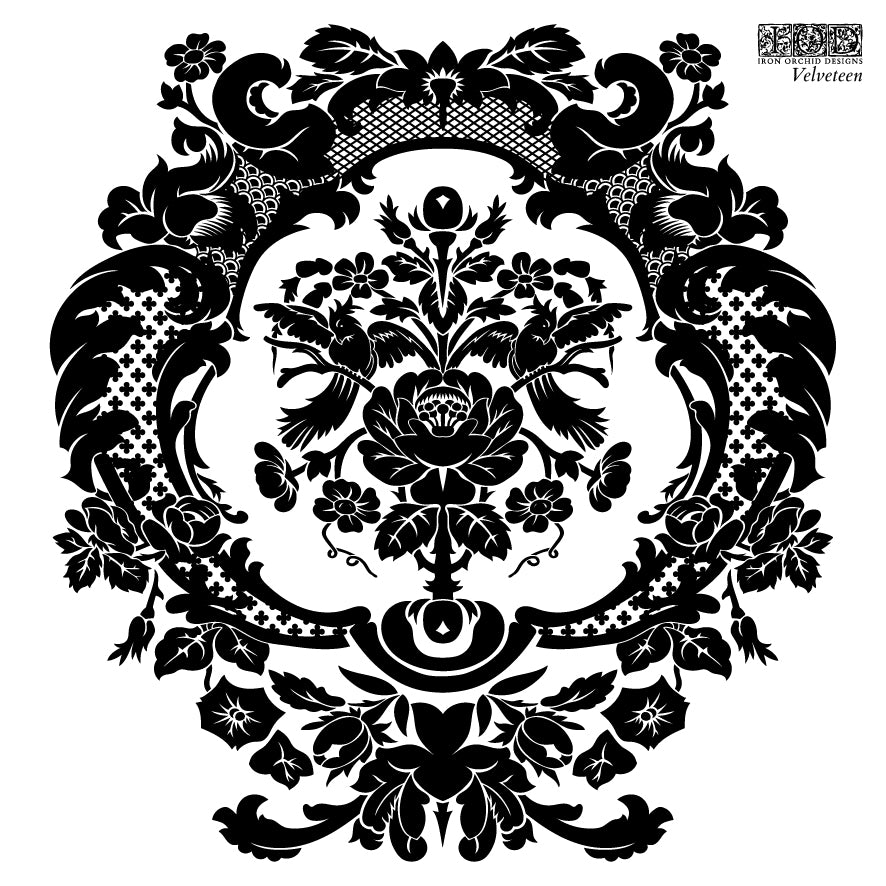
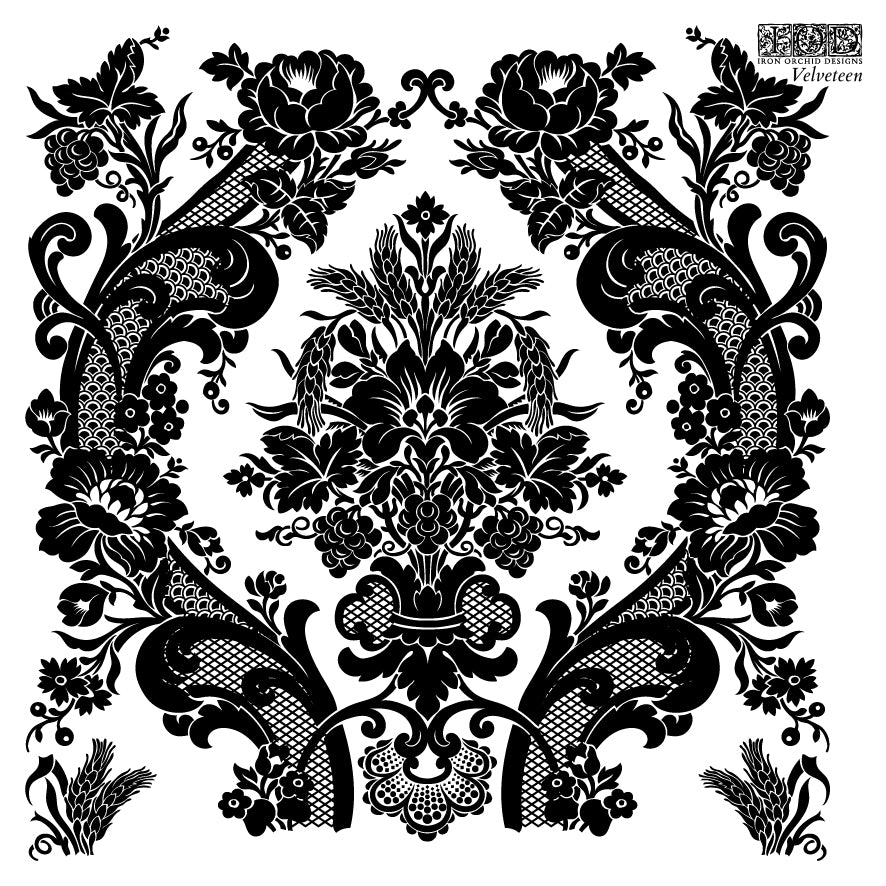
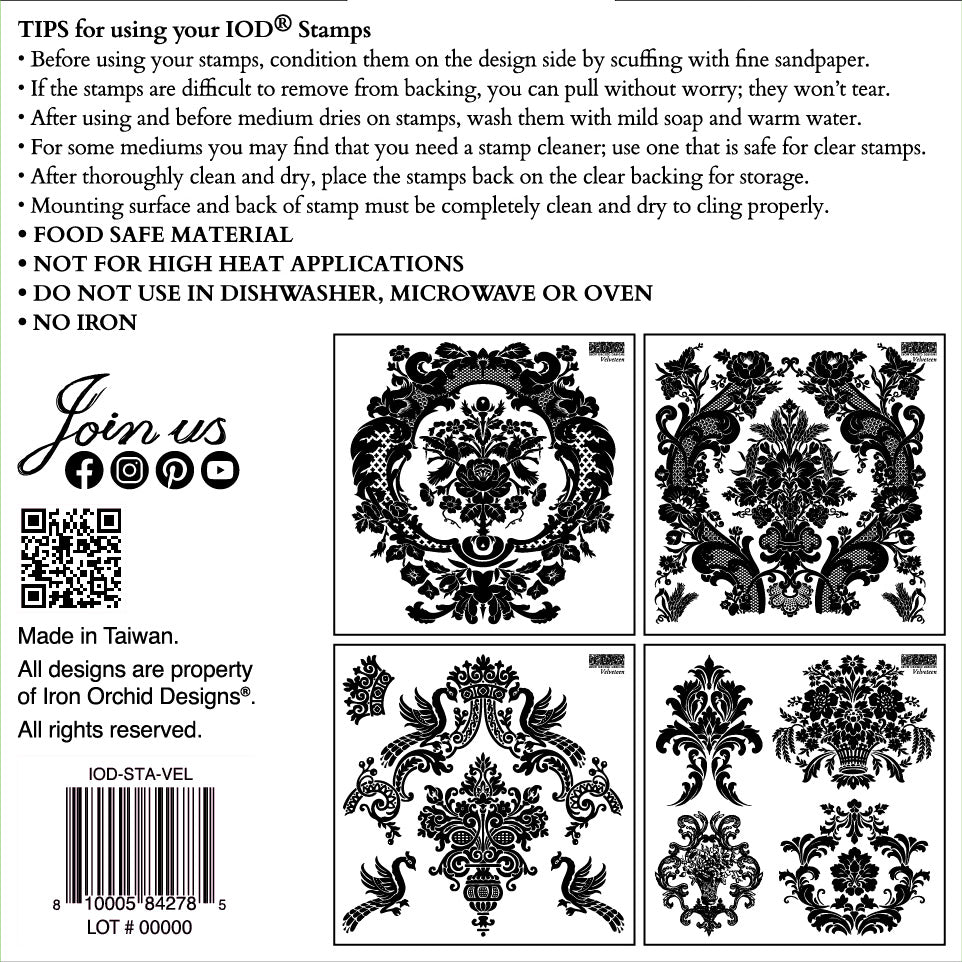
Introducing the Velveteen Stamp, four gorgeous damasks all tucked into a darling little set. We named it Velveteen because we had visions of an ornate design once full of grandeur yet worn to a commonly quaint use in a shabby French cottage. Velveteen is a tribute to the beauty of damask, which has graced interiors since it arrived in Europe during the 14th century.
Dress up pillow covers, lamp shades, or the fabric at the base of a vintage accent chair. Imagine Velveteen in faded colors and a distressed finish on ivory curtains hanging from black poles and brass rings. Most commonly used as repeated patterns these each can be used alone or paired with each other for so much versatility!
Project Suggestions:
- Small Decor: Damask pillow covers, lamp shades, repurposed books, or fabric.
- Wall Art: Stamp distressed paper and frame it with castings from Trimmings 1 or Trimmings 2.
Share
All about IOD Stamps
For anyone who hasn’t used IOD stamps before, they’re essentially what they sound like: A clear stamp - but it doesn’t stop there!
While similar in function to stamps you've used before -- IOD stamps have the power to transform a piece of junk found on the side of the road to a show-stopping piece that you will be proud to display in your home for generations to come.
And DIY home decor is just the tip of the creative iceberg. IOD stamps can be used in food art ( they're food safe! )crafts, DIY lifestyle projects and more!
How to Prep IOD Stamps
Did you just get your very first set of IOD stamps - beyond exciting, right?!? But
before you can get your hands dirty, you need to condition your stamps. You
only need to do this once and then your stamps will be set for life.
Start by removing the acrylic sheet attached to the stamping side of the design,
while leaving the stamps attached to their backing sheet. Using a fine grit
sand block scuff or rough up the stamping surface. Lightly sand in one
direction and then rotate the craft stamp 90 degrees and sand lightly in a
different direction.
This helps the mediums stay put, and not bead (which some types, like ceramics
glazes, tend to do). It also will give a cleaner impression.
Watch our Stamping 101 video to learn how to use them.