Iron Orchid Designs - Mercantile Decor Stamp
Iron Orchid Designs - Mercantile Decor Stamp
Couldn't load pickup availability
Mercantile Clear Stamp
Two Sheets, 12” x 12”
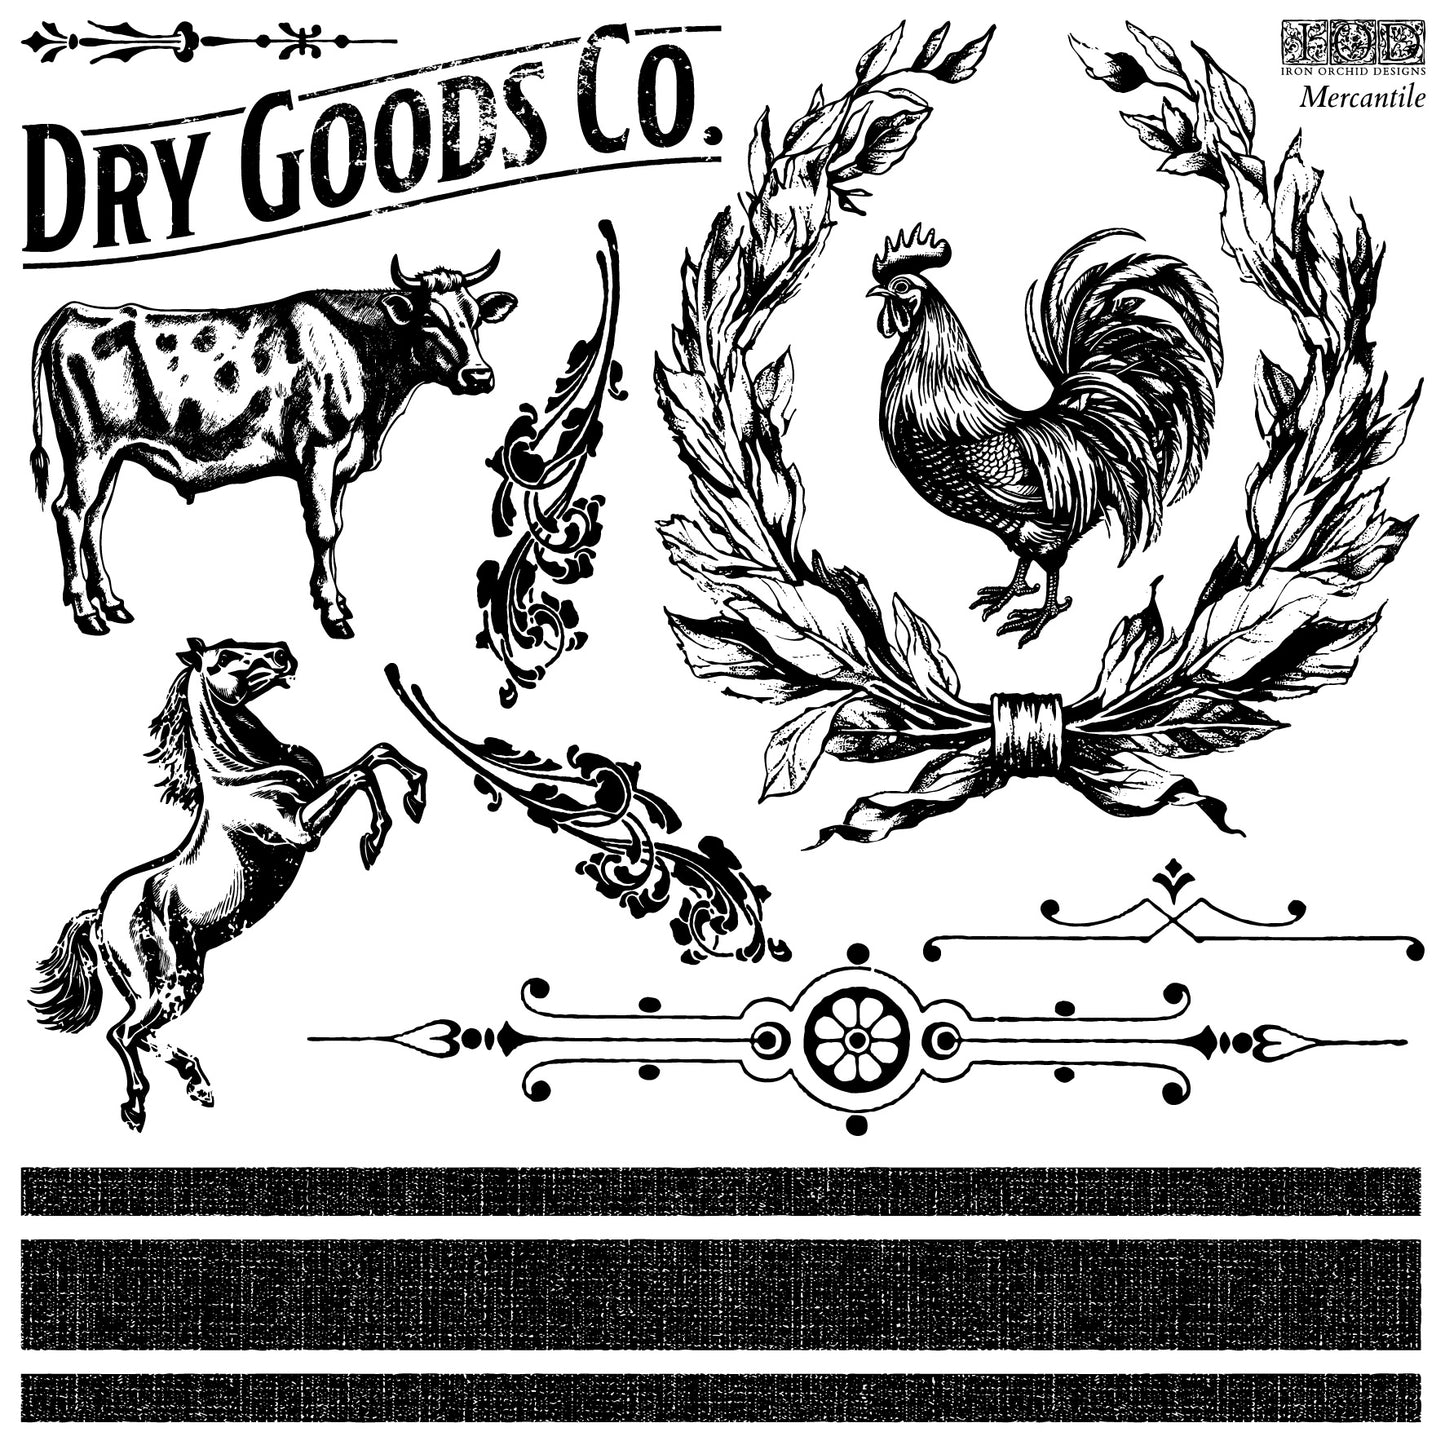
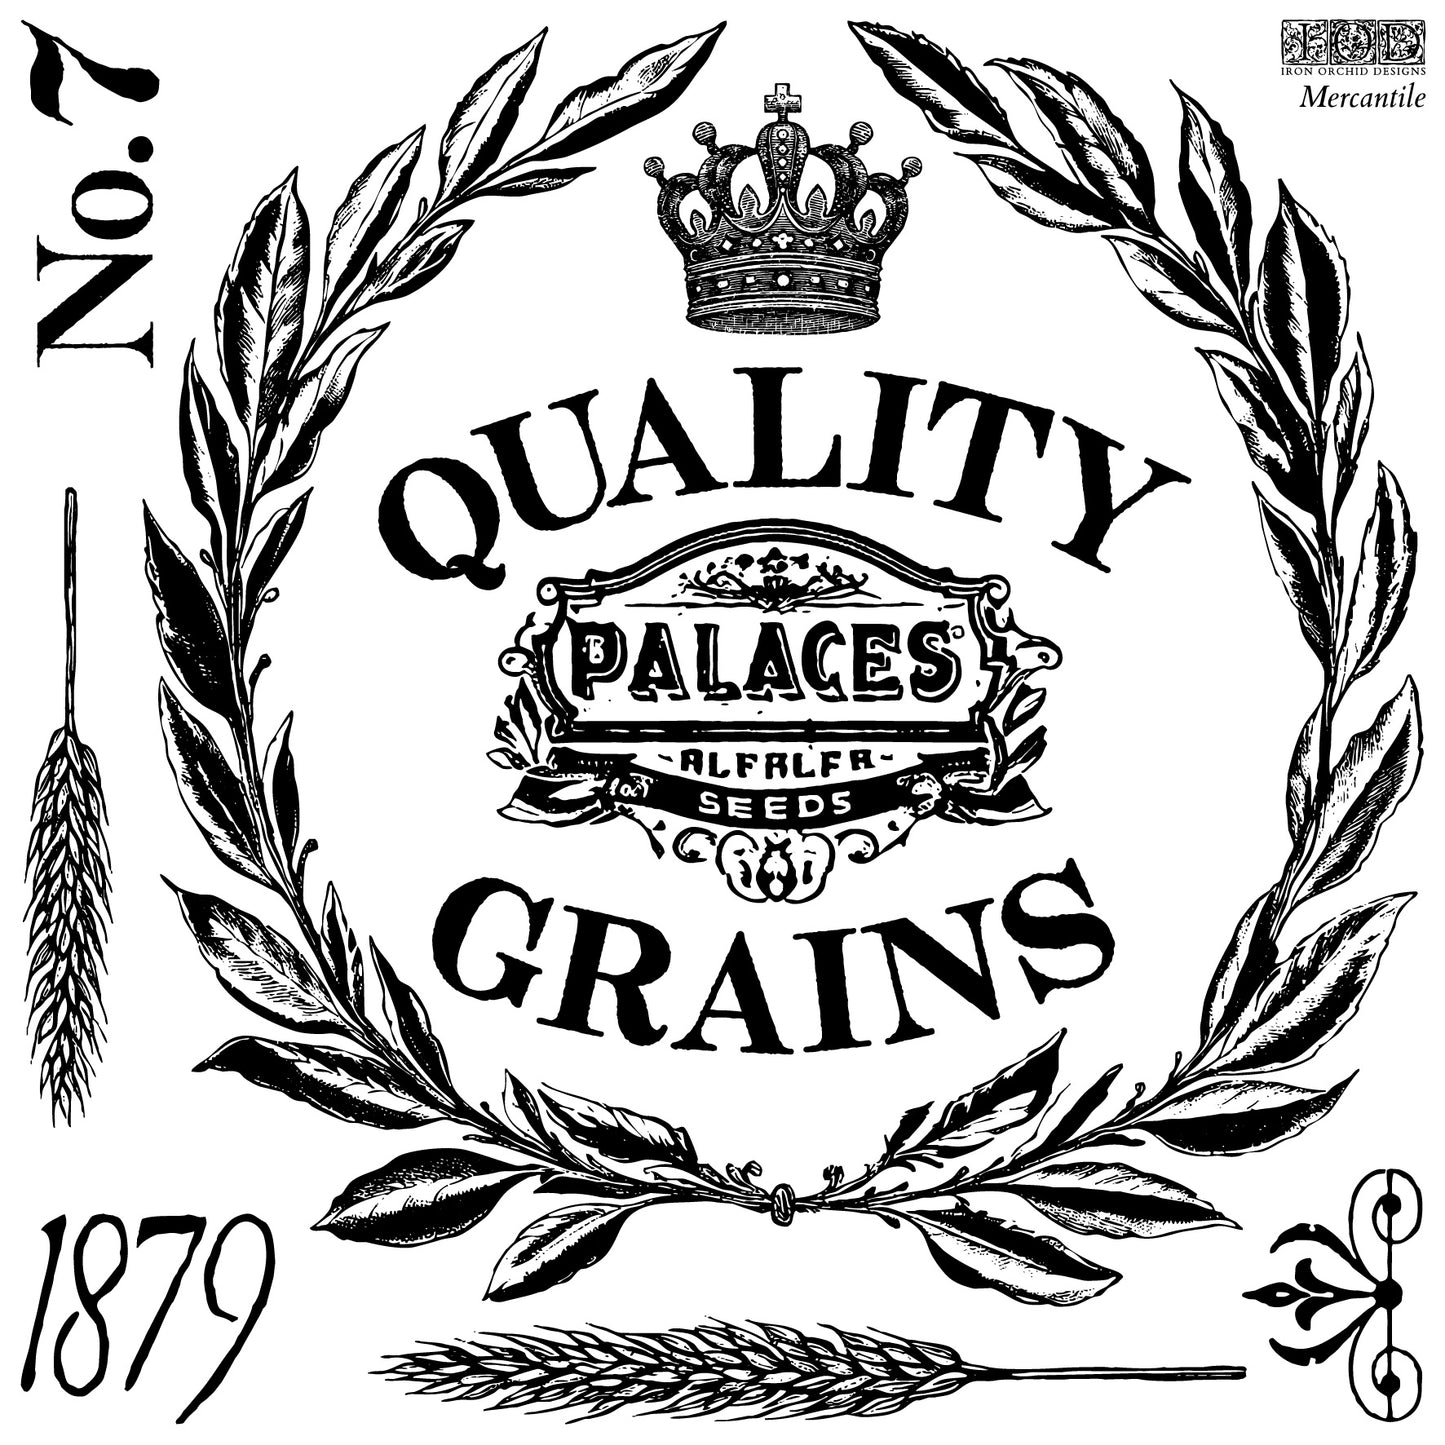
Sally cherished our first-generation Grainery Stamp and it inspired us to evolve it into something even more versatile. Meet Mercantile, a fresh take on this beloved classic! This set features dozens of stamp combinations, allowing every piece to be mixed and matched. Craft unique compositions by pairing elements like rustic horses, vintage advertising typography, and decorative wreaths for a diverse range of looks.
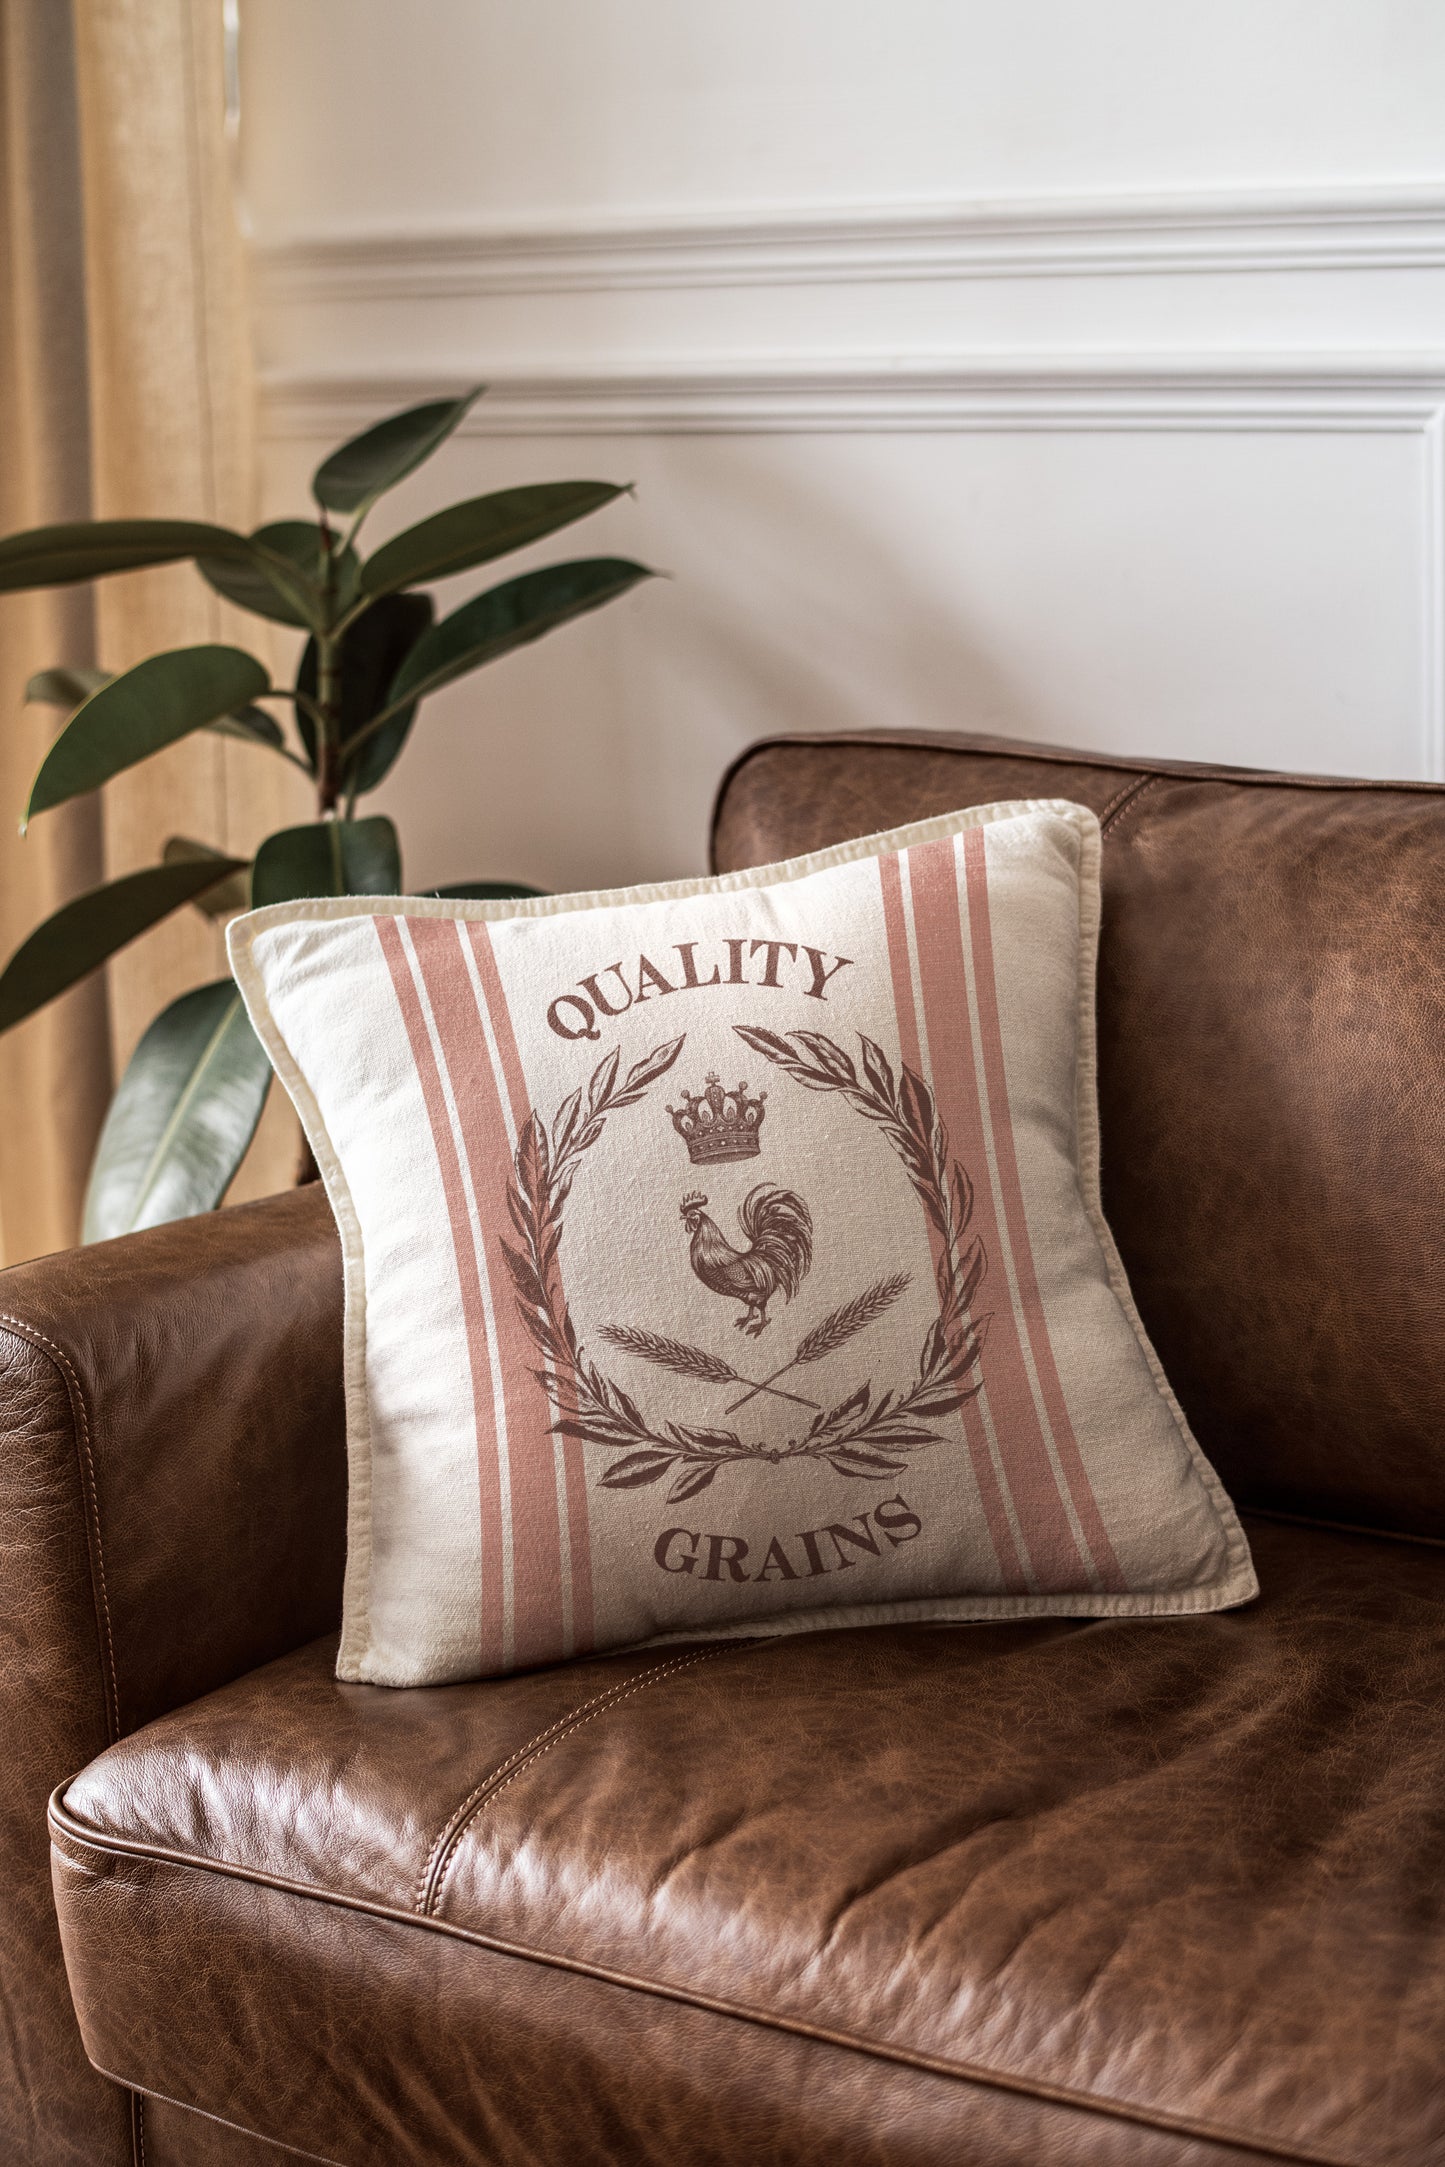
Drawing inspiration from the authentic linen texture of vintage grain sacks, this set is wonderful for Farmhouse, French Fleamarket, and classic Americana (Jami Ray, we think you’ll love this one!). Decorate throw pillows, tea towels, or create distinctive wall art, infusing each project with a touch of heritage.
Handy Tips:
- Use a thin mount and grid with the grain stripes to get a continuous, nice, straight pattern. Want to use just one strip element of the grain stripes? Ink only the one you want to use and stamp.
- The wheat element is designed to be flexible, allowing you to create continuous patterns or clustered designs depending on how you arrange them. You can also curve the wheat as you stamp to get different looks.
- Use the accent elements next to the cow and horse for styled dividers (great on tea towels).
- Repeat the flourish accents to make end-to-end borders.
Pair Mercantile with our La Campagne Stamp or incorporate elements from our Crockery Stamp into the wreath designs for a unique focal point.
We are delighted to add this sister to our beloved first-gen Grainery, we know so many of you will be running to your Stockist when you see this one (if you don’t already have the whole collection on hold sight unseen)!
Share


All about IOD Stamps
For anyone who hasn’t used IOD stamps before, they’re essentially what they sound like: A clear stamp - but it doesn’t stop there!
While similar in function to stamps you've used before -- IOD stamps have the power to transform a piece of junk found on the side of the road to a show-stopping piece that you will be proud to display in your home for generations to come.
And DIY home decor is just the tip of the creative iceberg. IOD stamps can be used in food art ( they're food safe! )crafts, DIY lifestyle projects and more!
How to Prep IOD Stamps
Did you just get your very first set of IOD stamps - beyond exciting, right?!? But
before you can get your hands dirty, you need to condition your stamps. You
only need to do this once and then your stamps will be set for life.
Start by removing the acrylic sheet attached to the stamping side of the design,
while leaving the stamps attached to their backing sheet. Using a fine grit
sand block scuff or rough up the stamping surface. Lightly sand in one
direction and then rotate the craft stamp 90 degrees and sand lightly in a
different direction.
This helps the mediums stay put, and not bead (which some types, like ceramics
glazes, tend to do). It also will give a cleaner impression.
Watch our Stamping 101 video to learn how to use them.


