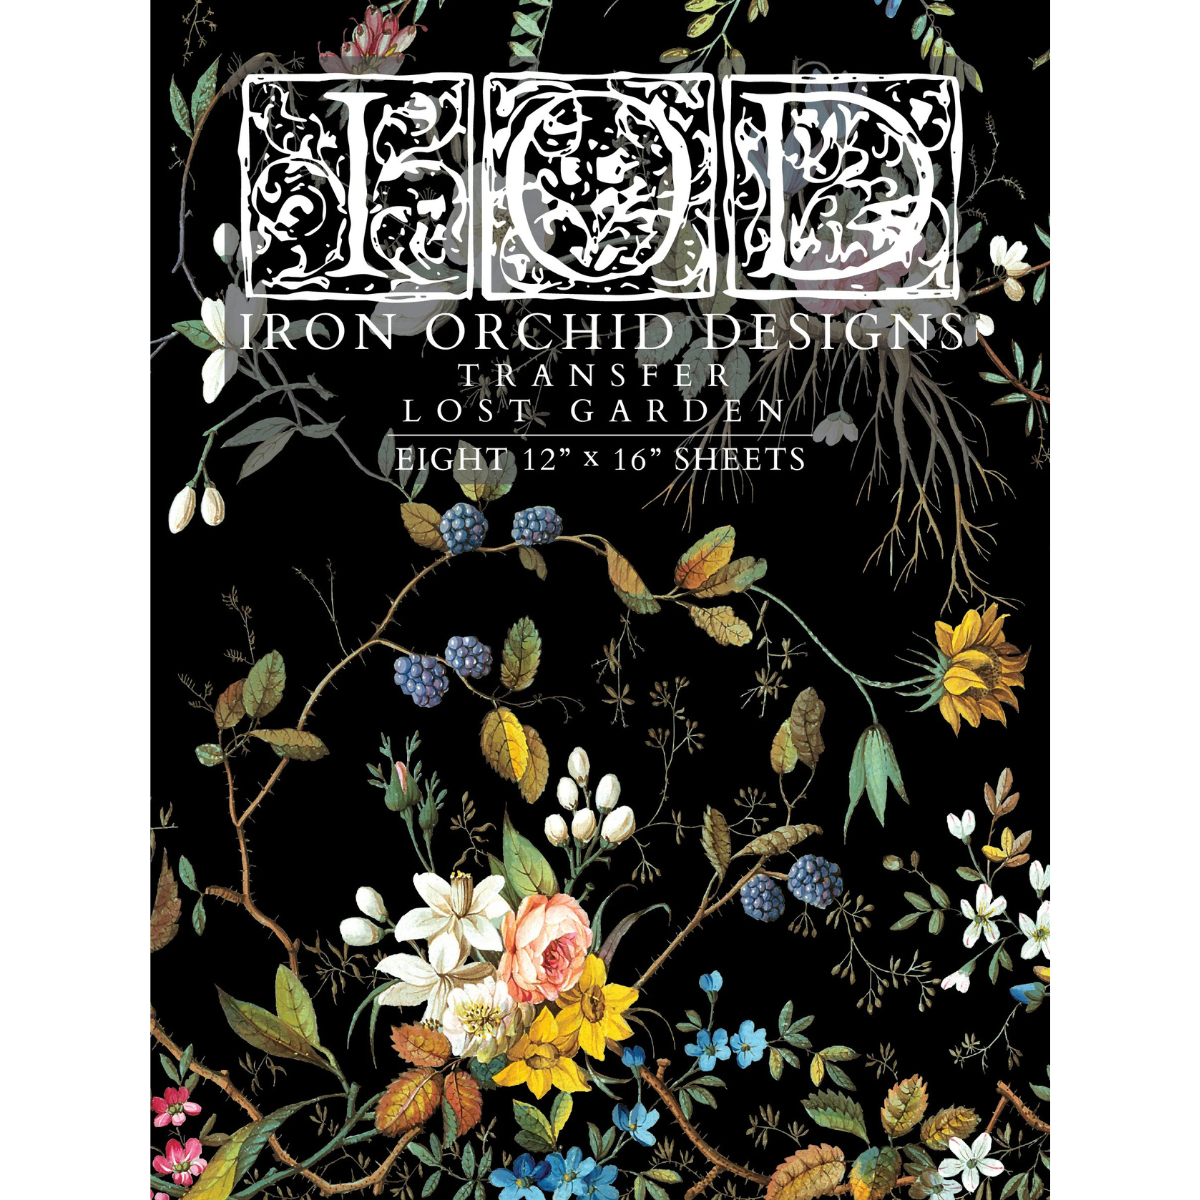
Iron Orchid Designs - Lost Garden Decor Transfer Pad
Iron Orchid Designs - Lost Garden Decor Transfer Pad
Couldn't load pickup availability
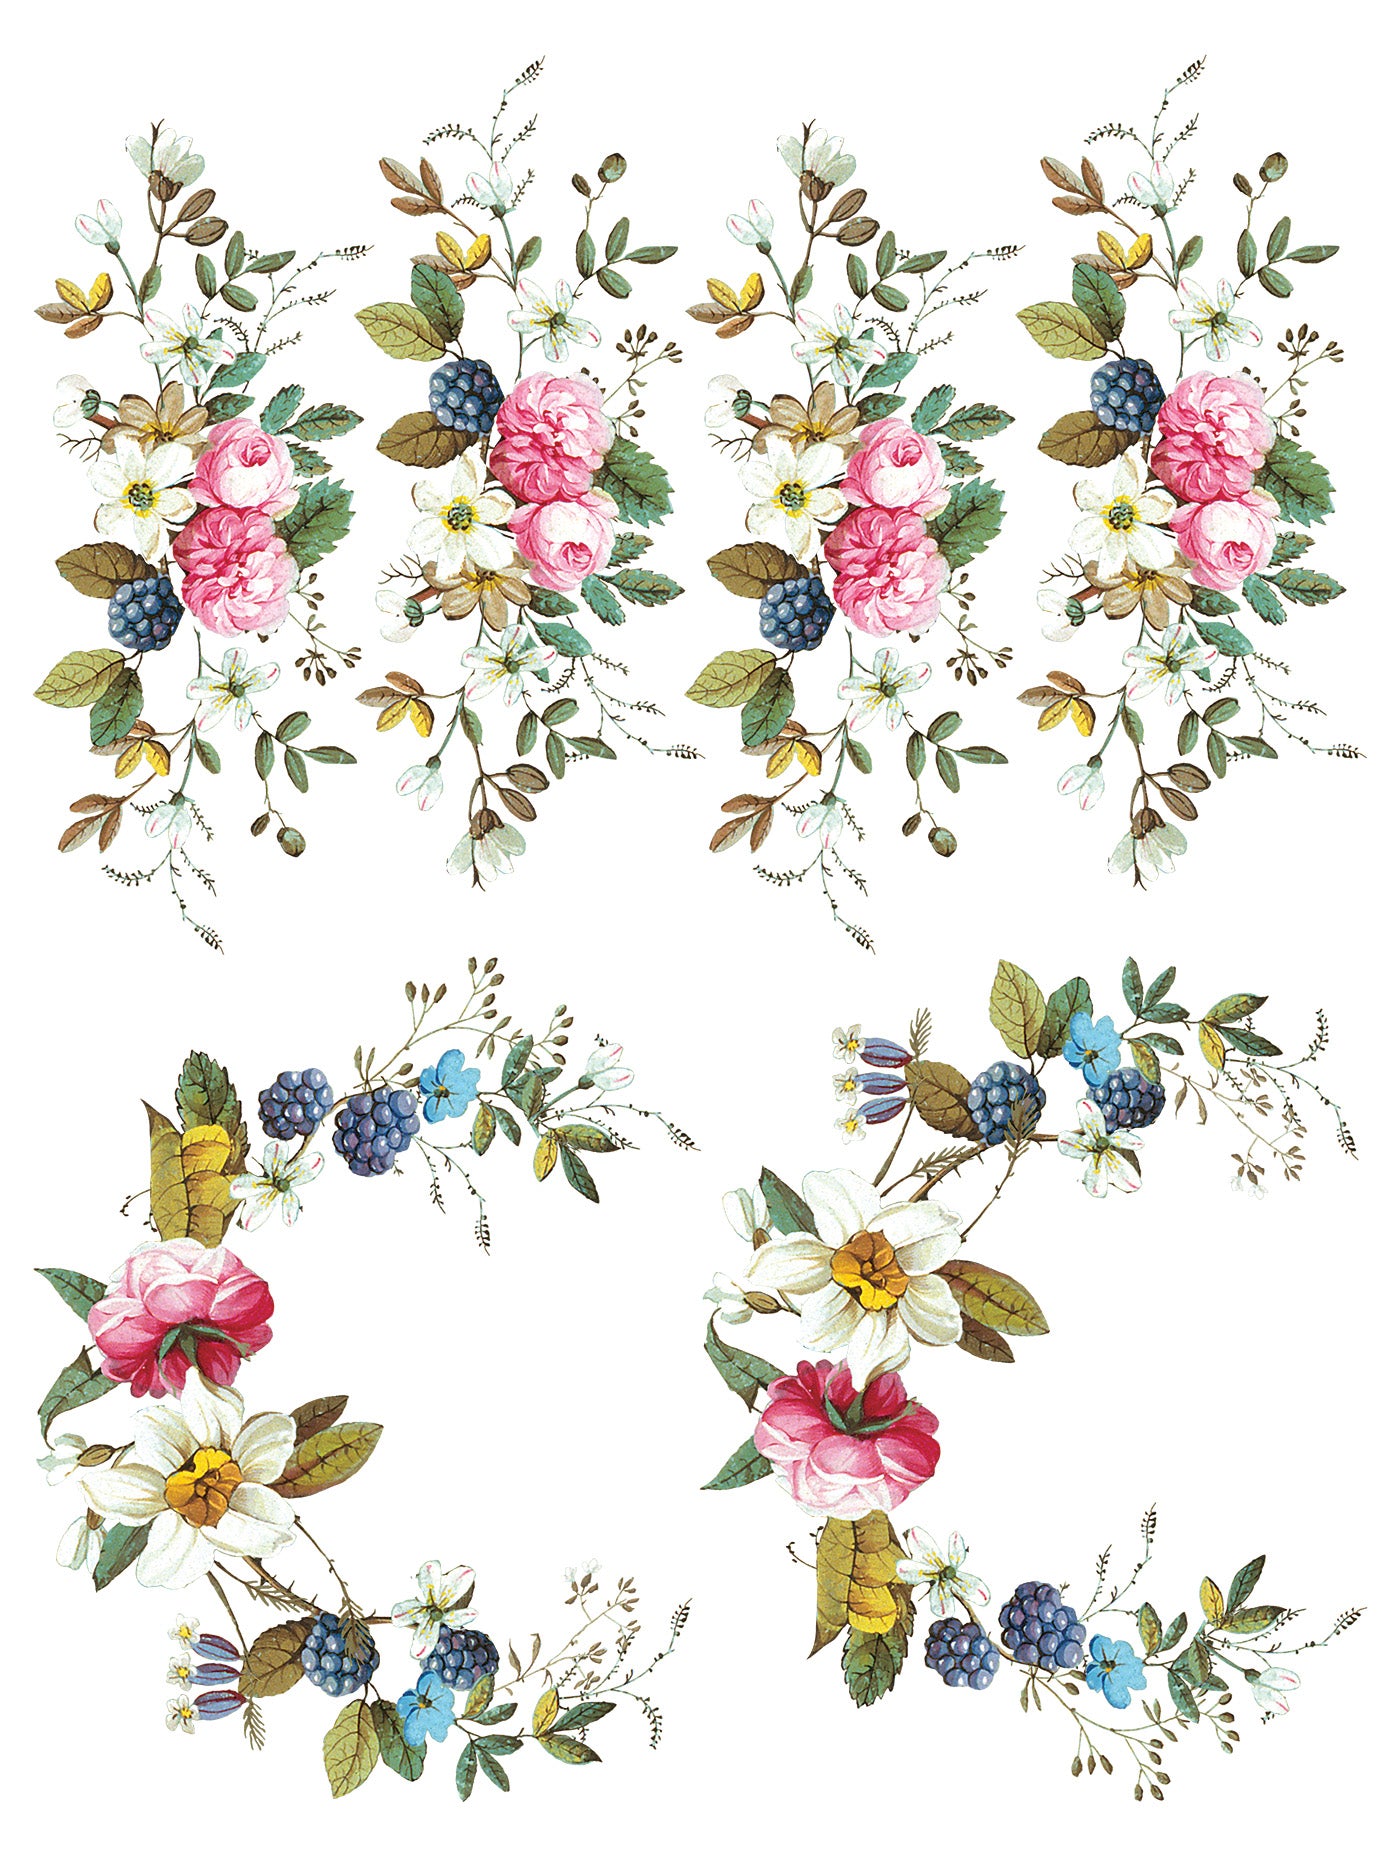
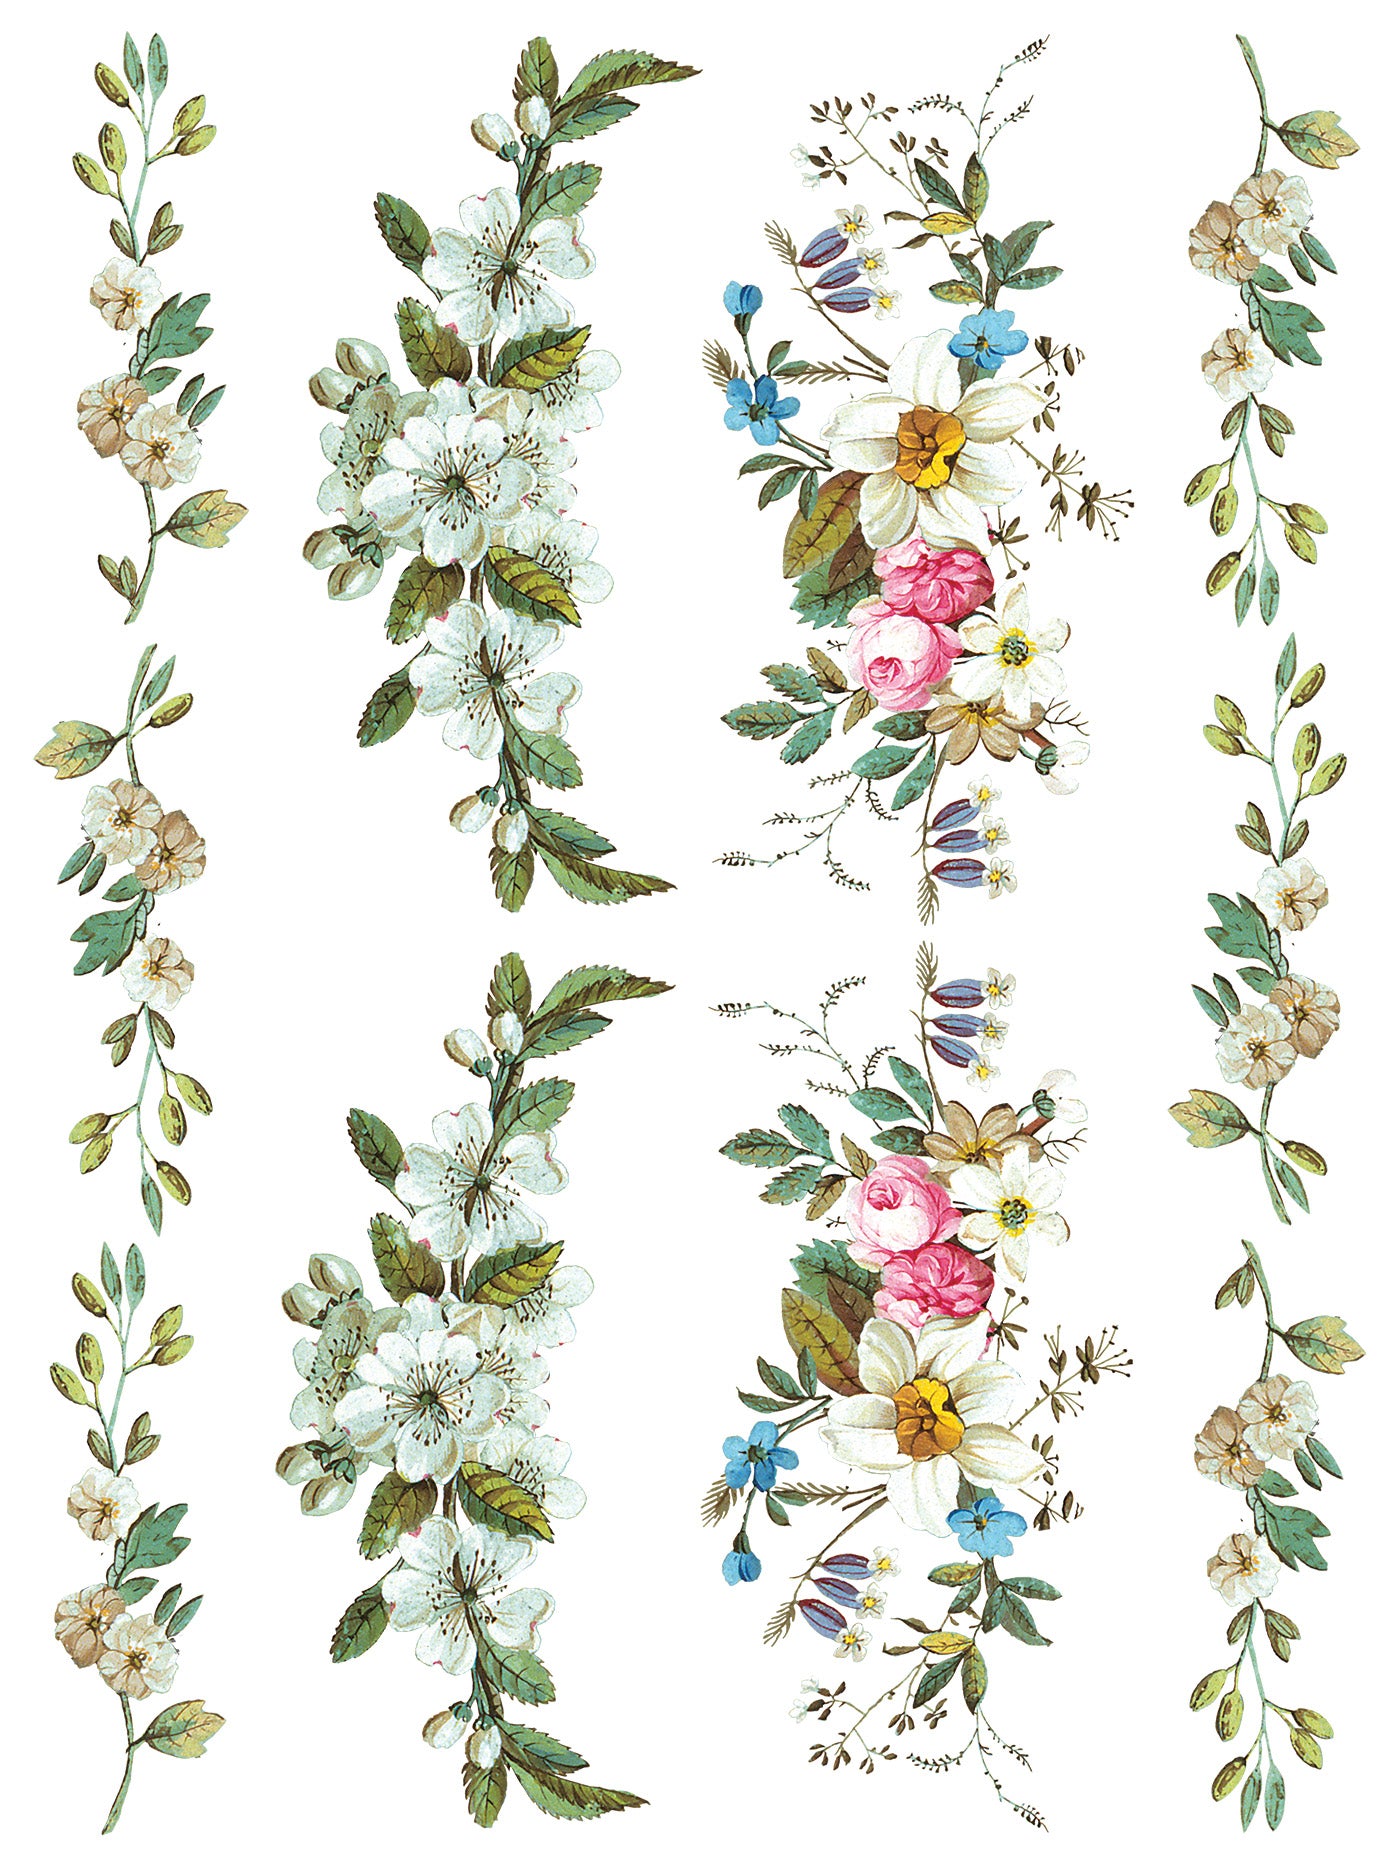
Lost Garden
Transfer, 8 Pages, 12”x 16”, Full Color
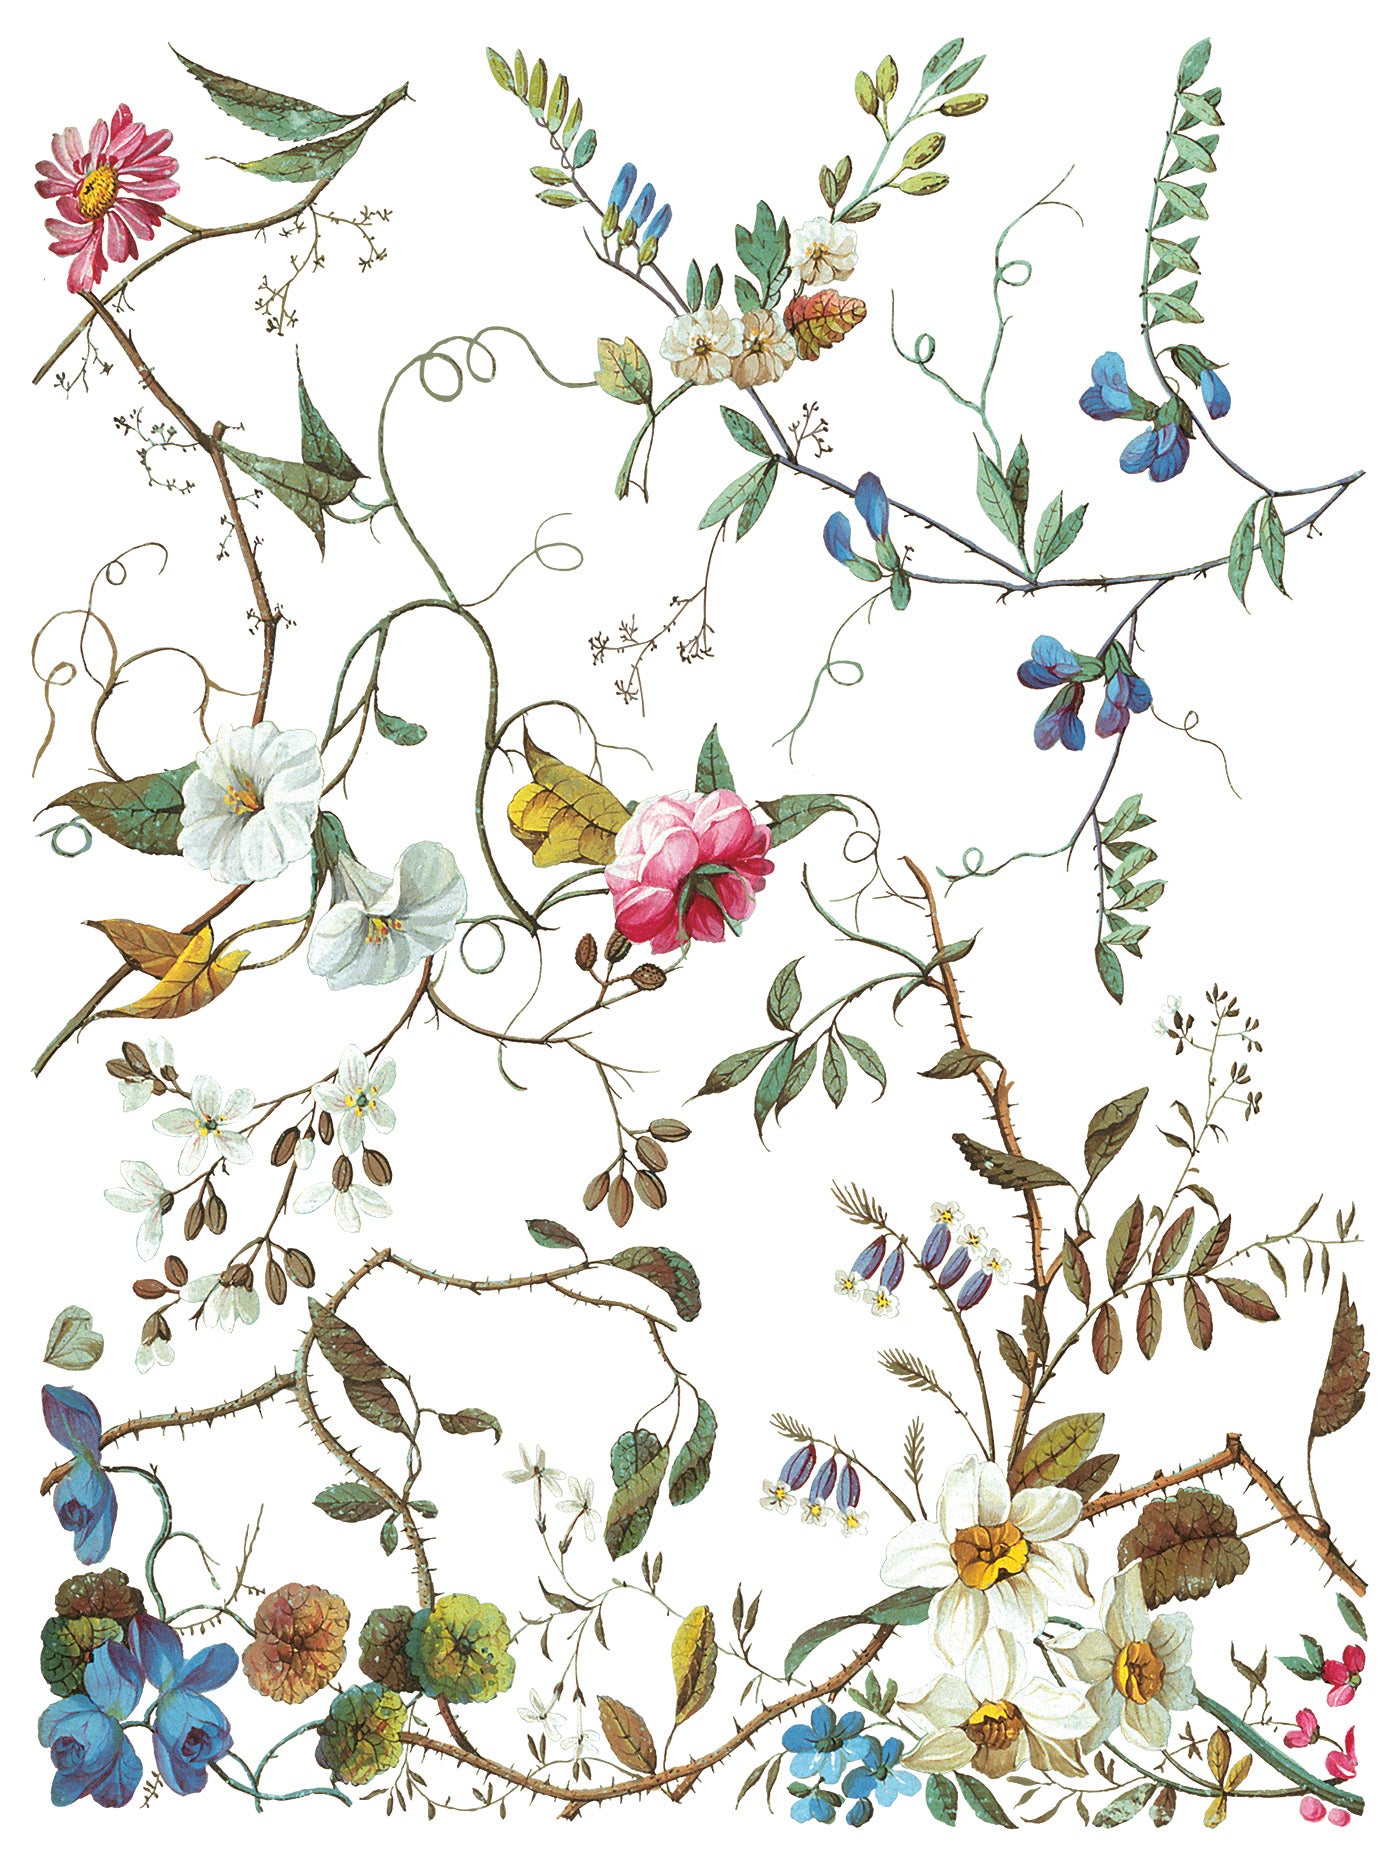
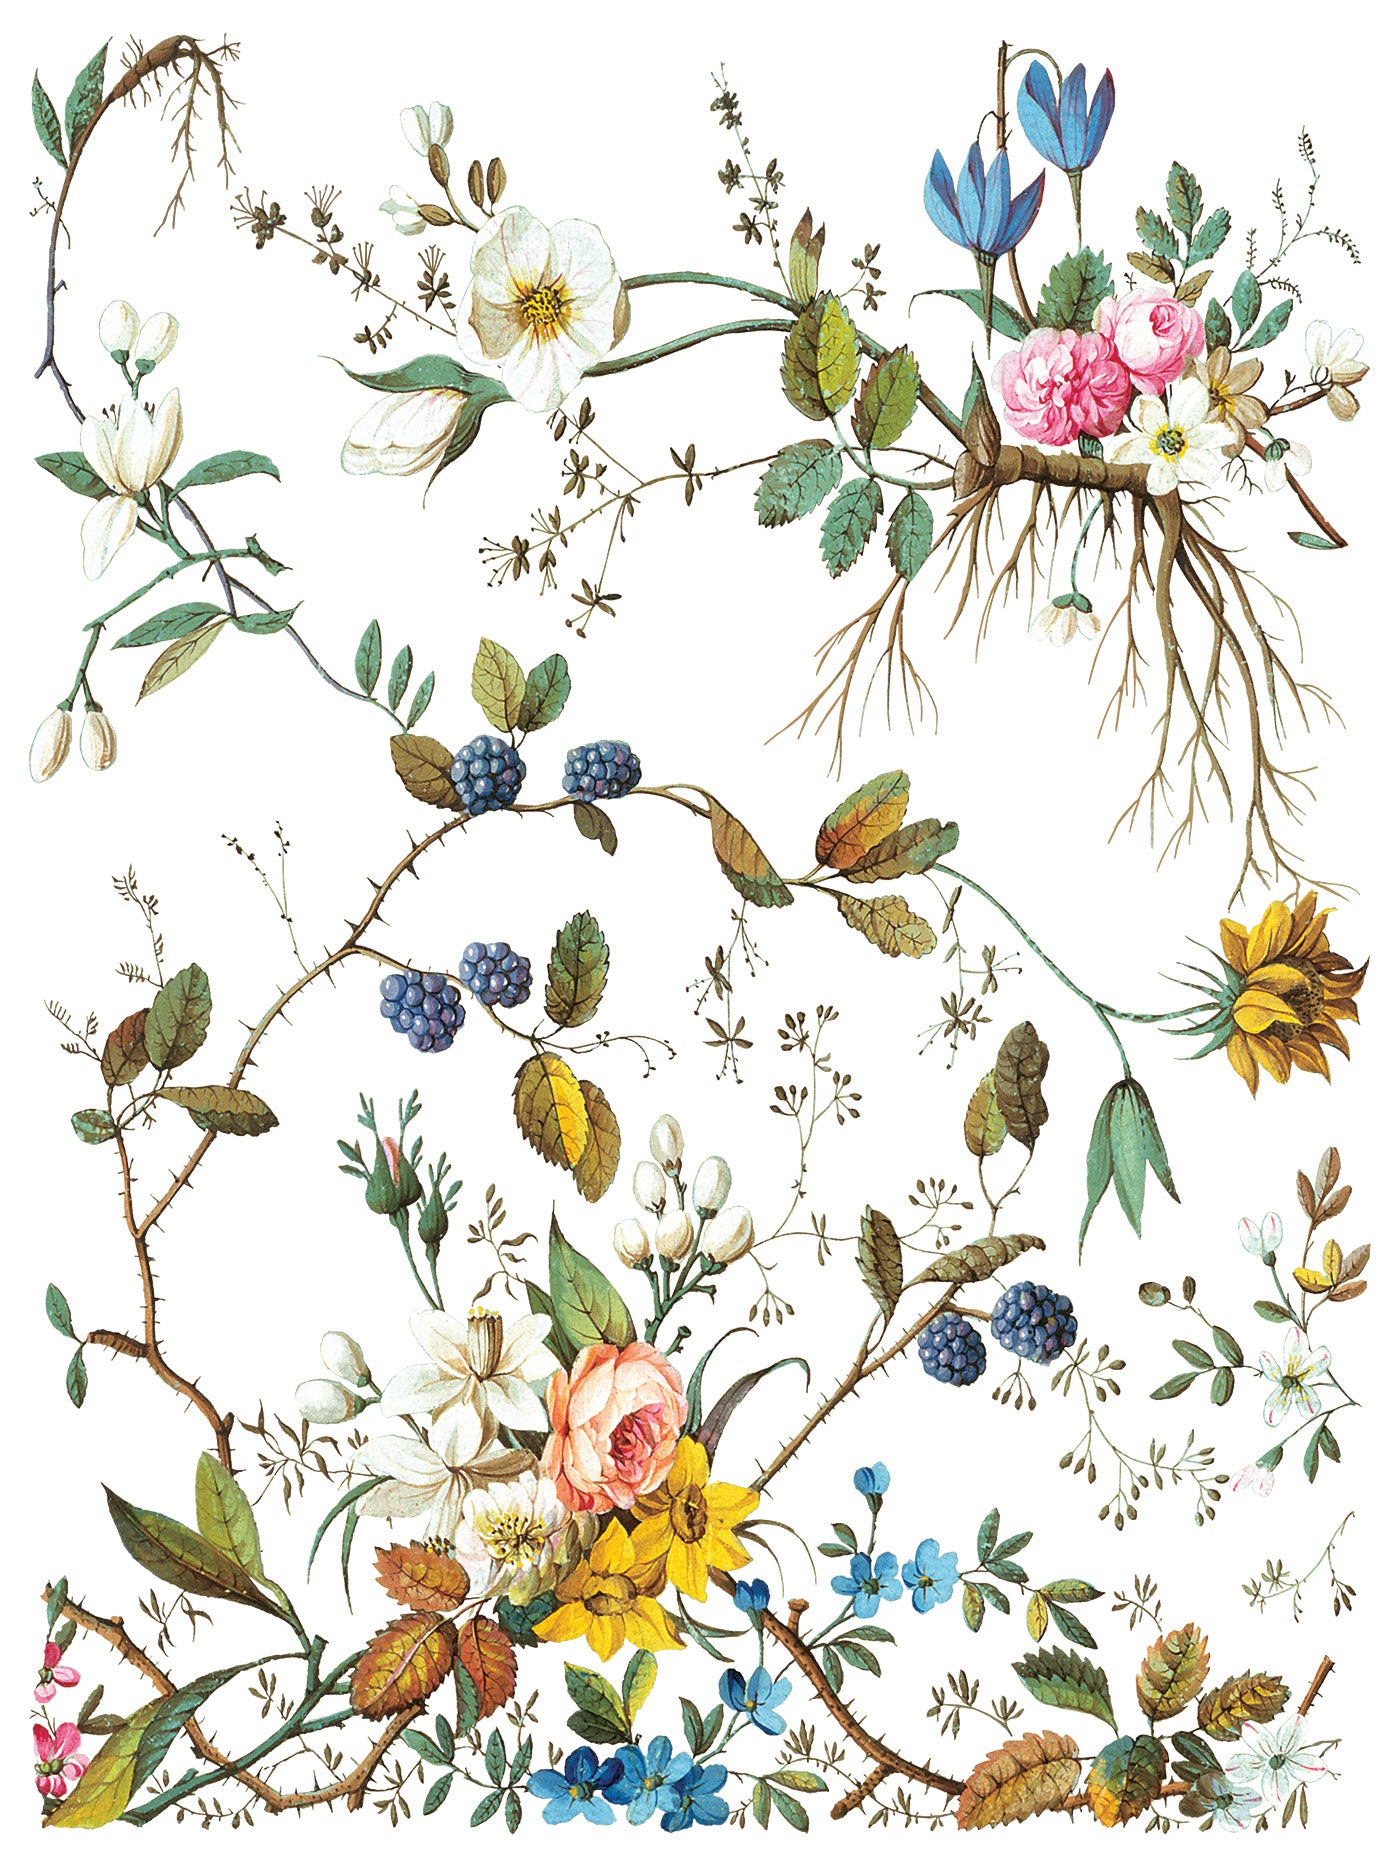
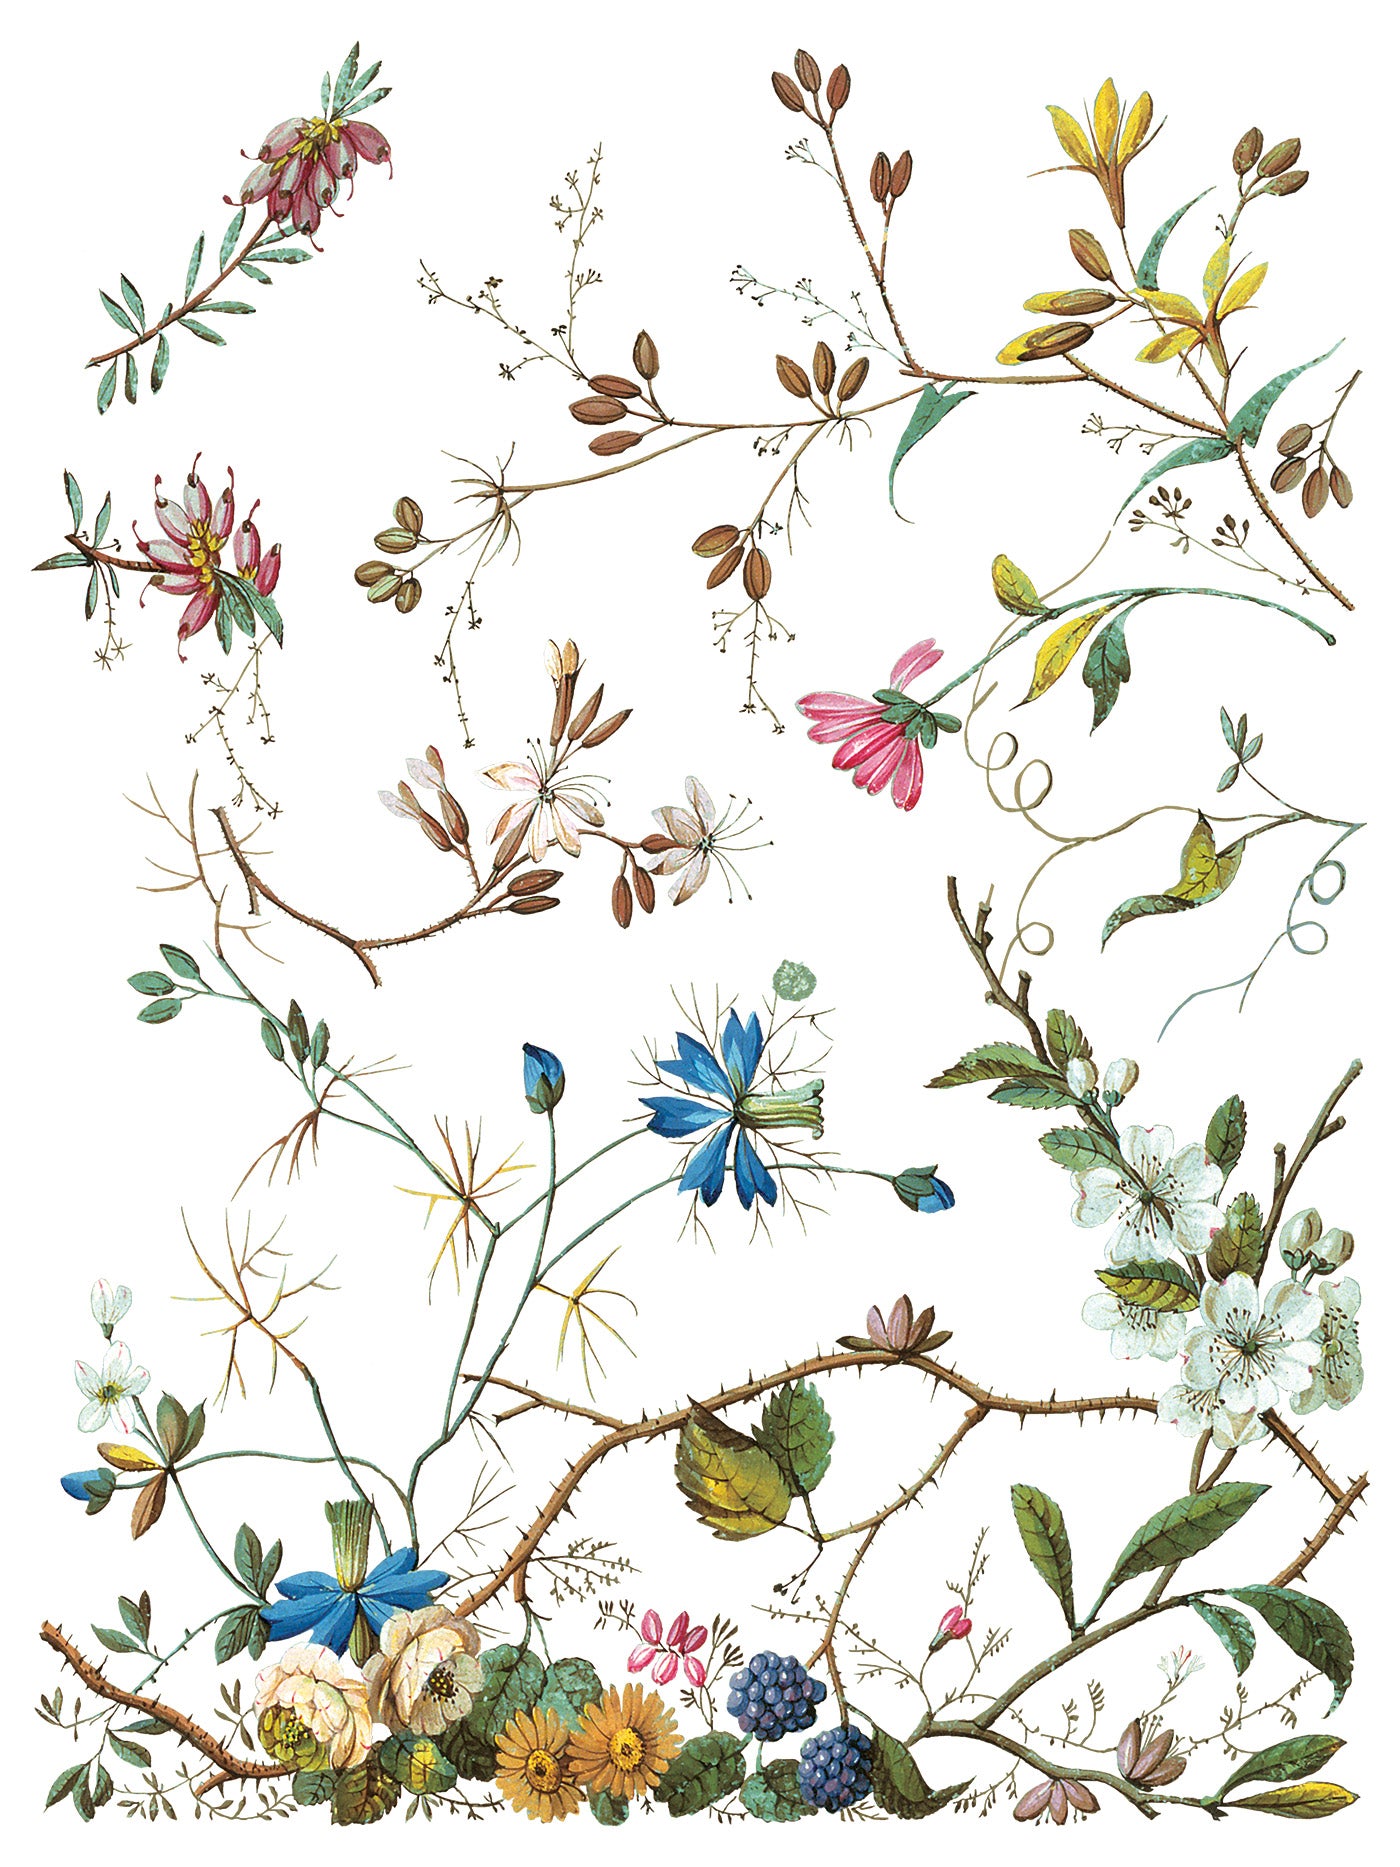
Introducing Lost Garden, a design that feels as though it emerged from a vintage English conservatory. This transfer is pretending to be humble, yet featuring elegant clusters of blooms and flourishes that meander gracefully from a horizontal base upward. It has a lovely, yet sophisticated essence that charms you at first glance and then doesn’t let go.
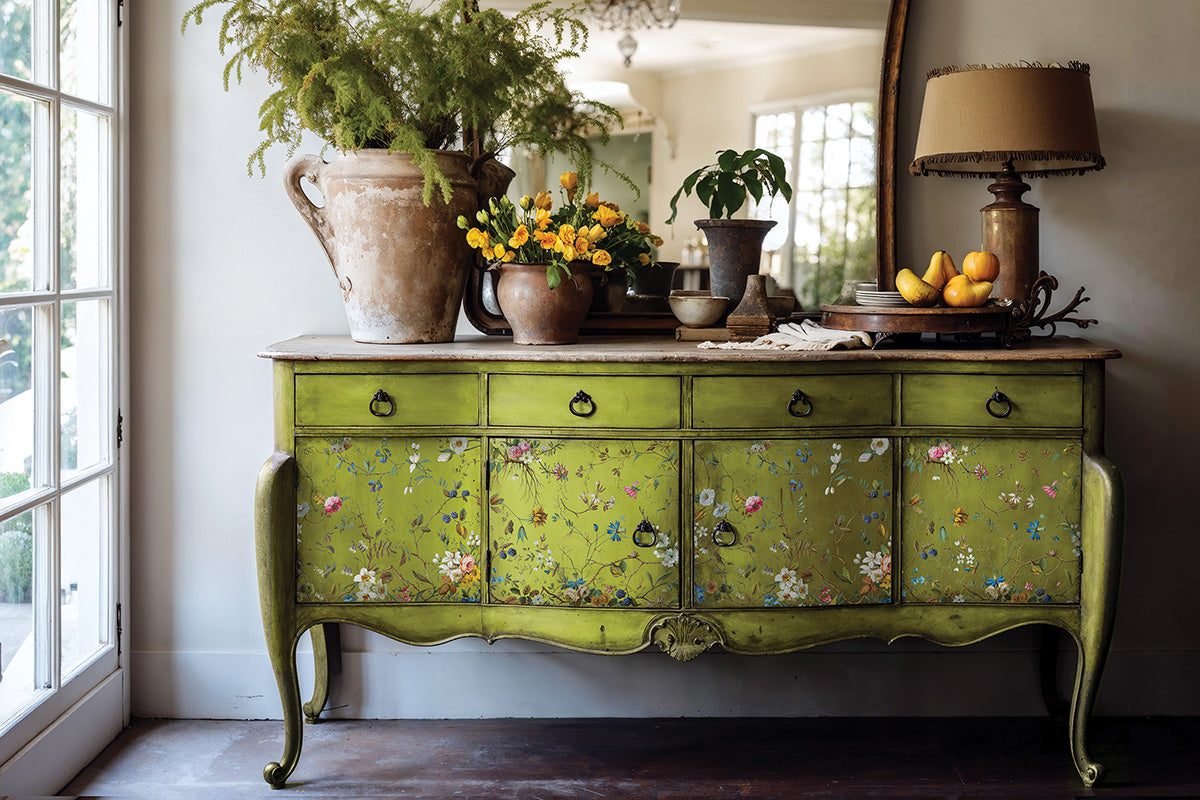
Designed with large décor in mind, Lost Garden is perfect for reviving your thrifted statement pieces. Imagine this transfer adorning the face of a vintage dresser, the foliage climbing effortlessly up the drawers.
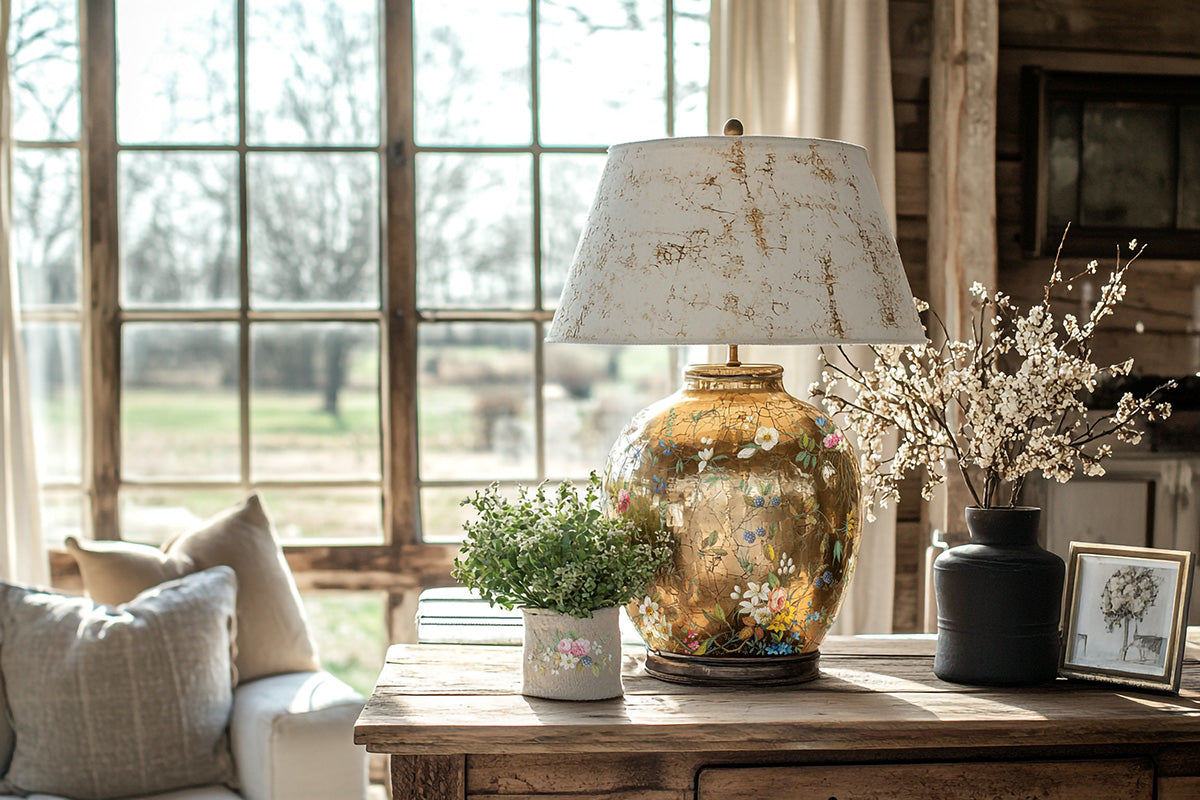
Don’t let its grandeur fool you—Lost Garden is equally beautiful on smaller projects. Use bits and pieces of dainty blooms to embellish trays, create a stunning focal point on a handmade sign, or frame flourishes for new wall decor to complete your spring refresh. Pair it with our Faux Bois Mould to create a beautiful border and added interest to your next project.
Project Suggestions:Furniture:
- Large vintage dresser, armoire, or side tables.
- Small Decor: Ceramic pots, dainty wall decor, or trays.
Pair With:
- Faux Bois Mould
- Trimmings Moulds
- Si Belle Gilded Transfer